Stevie C.
Helping make your space The Place To Be
PCBs, Prototype Services & Projects

PCBs & Projects
I’ve always had an interest in electronics, but I got into PCB design and slightly more dangerous projects during THE EVENT. Below is hopefully a complete-ish record of all my projects to date. I plan to sell my PCBs or access to my Gerber files online, but currently only sell finished products locally.
I would consider renting my PCBs/projects; for example to drama groups wanting special effects for a production, to private individuals wanting Xmas decorations or to local businesses wanting LED displays with an ongoing maintenance contract as part of a permanent rental.
A lot of these projects have been conceived in the pub, and assembled with my trusty Antex XS25, 60/40 SnPb solder, cheap wire cutters, several pints of tea and loud music.
12V Bonsai Flower PCB
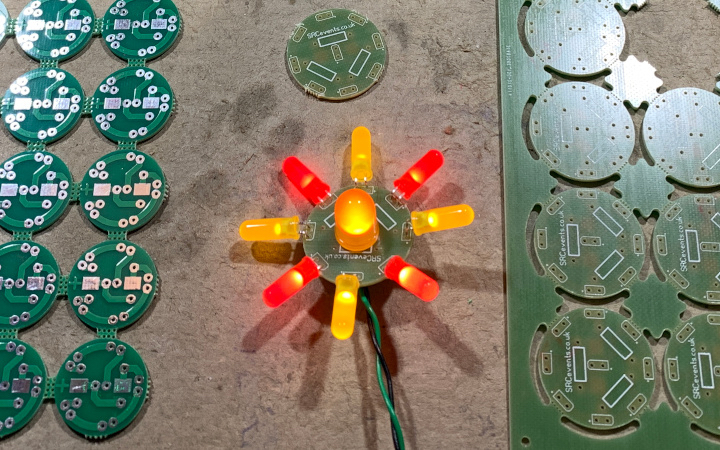
The first version of this PCB was inspired by Big Clive’s 6-LED Bonsai PCB, except mine has 9 LEDs. Like the original, it runs on 12V and uses quarter-watt resistors. Once assembled, solid-core hookup wire is used as a flower stem.

5V Bonsai Flower PCB
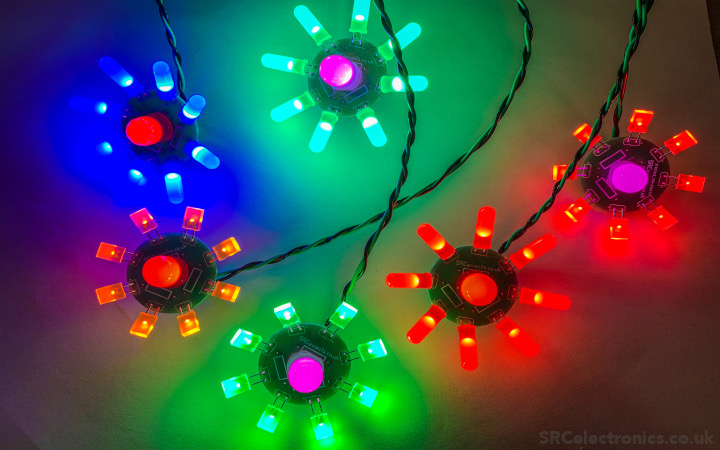
I then made 5V versions that accepted an eighth-watt resistor, and then SIL resistor networks. Latterly, I used quarter-watt resistors on this PCB too.


PIC-a-Flower PCB
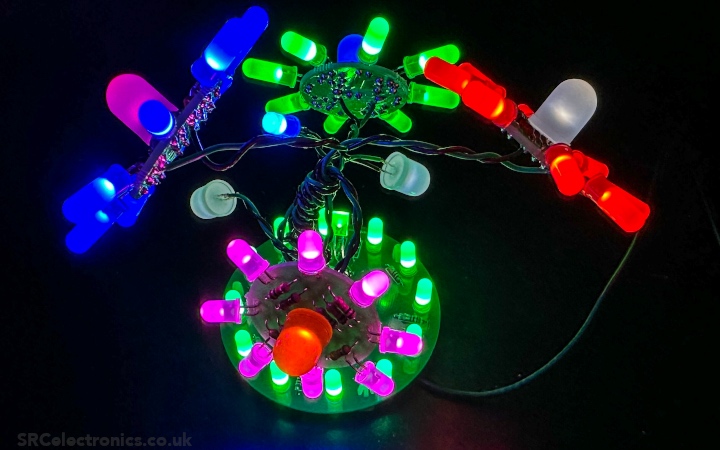
I designed a Bonsai flower PCB that used a PICAXE 14M2 or an 18M2 to chase patterns around the petals which were initially single-colour 5mm LEDs, but soon were 5mm diffused RGB LEDs. This could either be built into the 5V Bonsai Base PCB, or had provision for a 5V voltage regulator and support components in order for 12V Bonsai compatibility. A rather fiddly project, not least because of the 4-pin LEDs, eighth-watt resistors and convoluted assembly process, but pleasing nonetheless.


Building The LED Bonsai Flower Plant
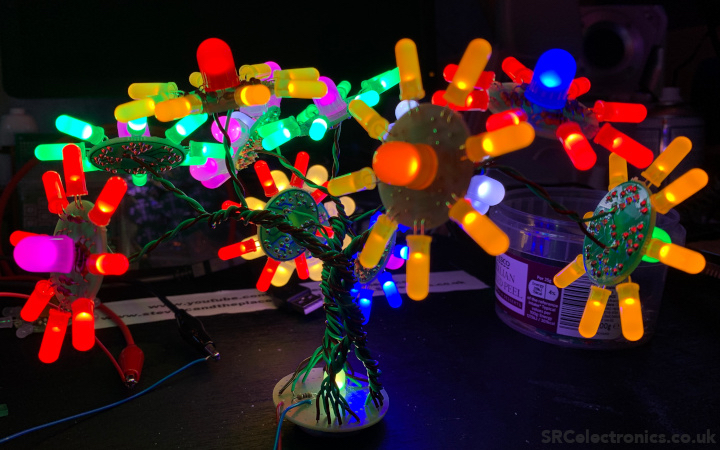
In Big Clive’s original project, he suggests that all the stems are soldered together - I knew how fiddly and frustrating this would be so I designed a power marshalling PCB for the occasion. The first three pictures are the original out-of-control Bonsai Plant (which consumed rather a lot of power - 70W).


The PCBs were codenamed. BFO Bonsai: for obvious reasons, USBonsai: for the 5V version, and HaLo: the successor to the 12V version. HaLo was designed for and named after an acquaintance - it had fewer marshalling terminals for bonsai flowers (not that you’d notice) which improved the soldering experience, but also supported direct 12V input as well as those IR RGB, IR dimmer & DMX controllers.


Original YouTube video
Updated YouTube video
Jojoba Bunny PCB
A cute lil Bunny PCB, modelled on a cute lil Bunny called Jojoba (whom I bunny-sit) and powered from 240V mains electricity. Featuring slow colour changing RGB LEDs, suitable for installation into a picture frame or a recycled LED floodlight case. I went on to design a 12V version that could be powered from a DC PSU or off-grid solar system; it provides a decent amount of light while still being a decorative addition to the garden or workshop.
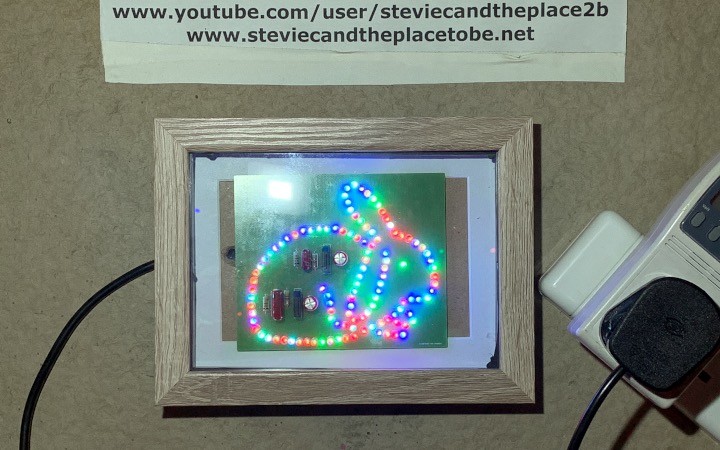


Jojoba Bunny PCB YouTube Video
Jojoba Bunny Update YouTube Video
#WeMakeEvents PCB
I designed this to show support for live events and theatre during lockdown. The LED PCB uses just over a watt of power, and has a simple message. Just because the government and media ignored us doesn’t mean that your friends, colleagues and family have to.

The mains voltage and political basis of this PCB inspired another one…
F*** The Tories PCB
Display your voting intentions with pride.
F*** squandering billions of public money.
F*** corruption and sleaze.
F*** the Tories.
Comes in F*** The Tories, Tories Are Corrupt & Oh But Labour versions.
I used this PCB as an outlet for my frustration at all the political corruption during lockdown, and happily sold this particular build for £60. However, I’d happily build one for the other parties, albeit for a much higher price as their detractors can obviously afford to pay much more. If you’re easily offended by this, just ignore it like you do with corruption.


This project features slow-fading RGB LEDs and runs off 240V AC mains, and while V2.0 would probably be based on the low-voltage Das Volt Zeichen PCB, this PCB cannot be co-opted to say anything else.
The RGB LEDs startup in sync and eventually drift, leading to a psychedelic pattern that gives off decent illumination.


F*** Fartage PCB
C’mon, you knew this was coming.

Das Volt Zeichen
This project was inspired by BigClive. This LED sign contains 3 rows of 7 characters, supports 3mm and 5mm LEDs, runs from 5-12V DC and fits into an 8x10 frame. I later designed individual character PCBs; these can be used in conjunction with my VU Meter PCB to great effect.
I gave it a German name because, reasons.

VU Meter Overload
What links loud music, HiFi, PA systems and electronics? VU meters of course. I went a little bit nuts with this project, as I do with quite a lot of my projects actually. I used an off-the-shelf LM3916 IC, paired it with an LM386 OPAMP and then created several LED PCBs for use with it, including: an LGBT+ Pride Flag, a DVZ PCB group sporting a local business’ name and an “analogue of an analog” VU display.
I’d like to design my own comparator circuitry. Maybe I need a V2.0…

VU Meter Overload YouTube video
Pride Flag VU
I did indeed design V2.0, again just using the LM3916, this time in A4 size and themed as a Pride Flag. It clips together for a much neater presentation. Suggested Retail Price: £120 for 10mm LEDs and £150 for 5mm LEDs.

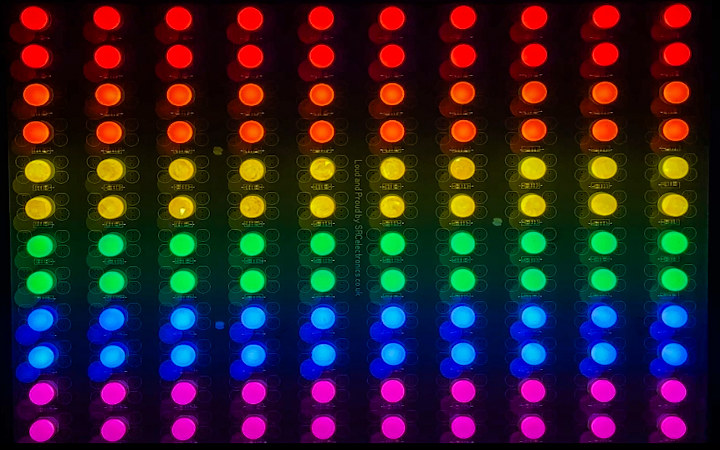

I built some of these for the Salty Dog bar in Dundee, and laterally serviced them following a slight design flaw (not really hardened against drunk idiots). The YouTube video of that can be found here.
595 Shift Register DVZ
I feel this project deserves its own H2 element; although based on Das Volt Zeichen, it’s a bit cleverer what with the PICAXE micro-processor and 595 shift registers.
I designed this PCB for a local shop owner. I was going to sell these, but I figured a monthly license would be more appropriate - both they and micro-payments seem to be the -in-thing these days. A monthly fee would naturally cover component servicing and firmware updates.

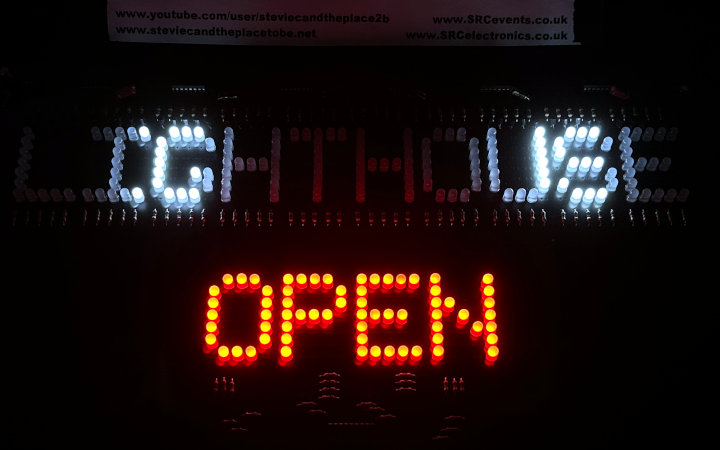
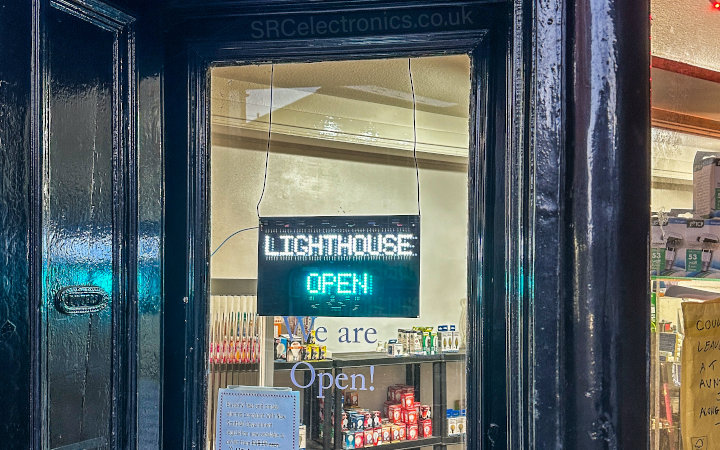
595 Shift Register Sign YouTube video
Sometimes a rocket is just a rocket
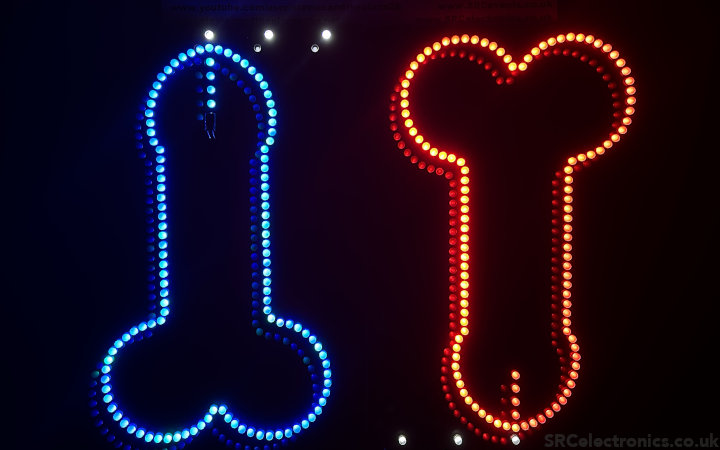
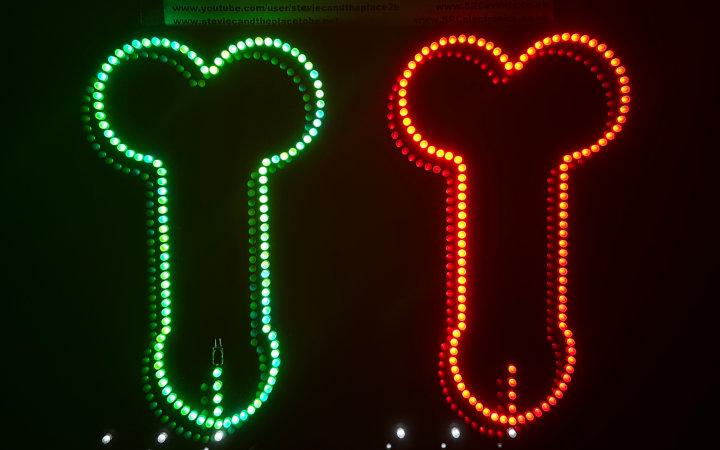
Not in this case however. Oh, the weird PCBs I get asked to build. This is a USB-powered A4-sized novelty piece that features 5mm LEDs, shown here with red and slow diffused RGB LEDs.

Das Volkskugel
I’m not sure about the legalities of this project, but I consider it to be a “Technical-art tribute” to Vivienne Westwood.
This was designed (as in, I designed the PCB) and built as a one-off project as a present for a friend who is a massive fan of her work, and mine come to that. It’s based around 3mm LEDs (which are a pain to solder), and while it starts up with them all in sync, they drift over time for a psychedelic effect. Again, I gave it a German name because, reasons.


Big Clivicle
I designed a PCB for use with Big Clive’s Icicle/Meteor firmware: multiple LED effects driven by a PIC12F629. He originally suggested using enamelled wire to hold the LEDs together which I thought was too fiddly and time consuming. So here we are.

The first version supported concave/straw hat LEDs, 3mm LEDs and square LEDs and used a PTM or reed switch. The revision was slightly longer with a tactile switch and support for 5mm LEDs. Further revisions included a big chonky one for 10mm LEDs and a super-long one (for a project that didn’t go ahead) that supports “high-colloid” LEDs.
Big Clive’s original YouTube project
My Big Clivicle Icicle/Meteor YouTube video
Central Services / Star / CSIcicle
Because I got a bit excited and ordered at least 50 of the first version of the Big Clivicle, and revised the design shortly after; I had a surplus of older icicle PCBs to use up. So I designed a central PCB that arranged 8 icicles into a star, driving them all with a single PIC12F629.

The first version once assembled was stuck like that. Later revisions of this changed the 8-pin DIP connections for a 4-way PCB interconnect thus allowing disassembly for storage and added support for a PICAXE to auto-increment the patterns.
My LED Star YouTube video
My Updated LED Star YouTube video
Wee PICAXicle
I had a go at designing another icicle PCB - one that didn’t rely on someone else’s software. Hardly surprisingly, I used a PICAXE as that’s the platform I’m comfortable with, hence the name. This PCB drives slightly fewer LEDs due to the disparity in pin IO between chips, but performs in much the same way.
The standard version uses a 08M2 and tri-state multiplexing to drive 9 LEDs, and the chonky one uses a 14M2 and eighth-watt resistors to directly drive 10mm LEDs for much brighter - and easier to program - effects.
LED Fairy Lights
This was probably my first project (not including the AM radio I built as a wean), certainly the first one inspired by Big Clive. This project involves up-cycling old sets of tungsten fairy lights, saving them from landfill and giving them a new lease of life thru LEDs. Also, I can have colour combos and styles not available in the shops.


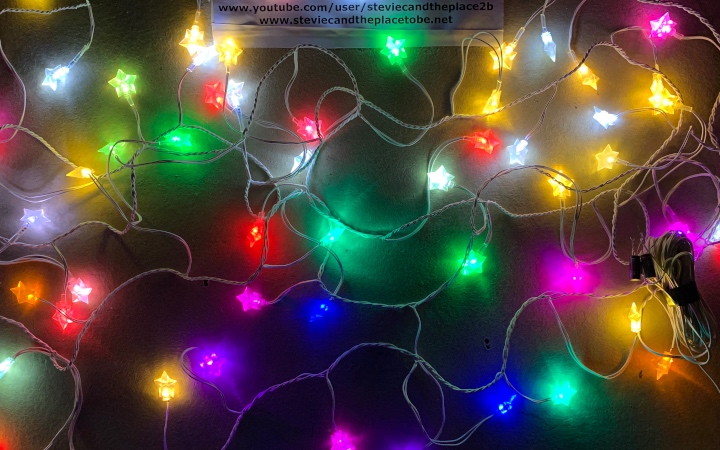
I’ve modded 24V light sets that run from a transformer and 240V mains light sets that required the use of a capacitive or resistive dropper supply.…
CADRO / RESDRO
I feel I’ve come full circle as this dropper PCB is a clone of a Chinese/Eboo product which I’ve improved - normally it’s the other way around in both regards. I’ve improved the trace/anti-tracking clearance and sized it to fit into a sturdy ABS enclosure for kinda-sorta compliance with electrical safety.
CADRO supports capacitor sizes/values of 10nF, 22nF, 47nF, 100nF, 220nF, 330nF, 470nF, 680nF & 1uF. RESDRO has 4 half-watt resistor positions. Both have provision for an electrolytic smoothing capacitor and discharge/bleed resistors. Variants exist for the burst resistor being omitted and for the choice between discrete diodes and All-In-One bridge rectifier packages.
I also designed a PSU for 6-24V, for running LEDs from Pinspot transformers and the like.

Custom Lightbulbs
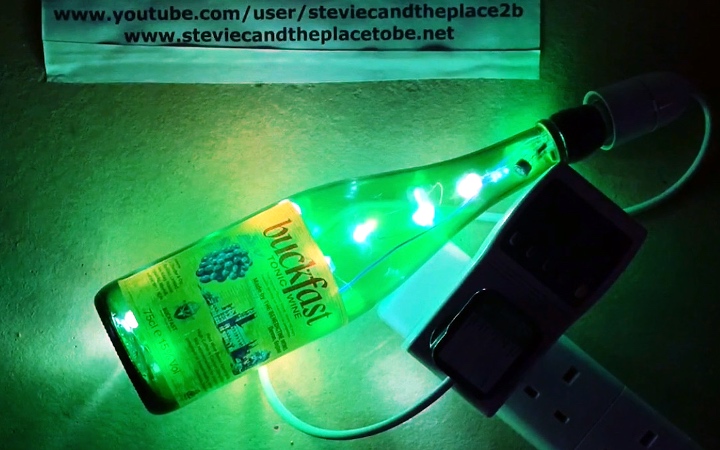
I’ve made a selection of mains-powered LED and Neon lightbulbs using the bases from repurposed (burned out) compact fluorescent lamps. There’s even a recycled Buckfast Tonic Wine Bottle Bulb.


Painted Lightbulbs
I got into painting filament lightbulbs with Pebeo glass paint about 2 decades ago, and have continued this passion with LED lamps. The painted-on designs project funky patterns onto lamp shades. I’ve used these to great effect at several occasions I was supplying lighting for.


Test Tube Bulbs
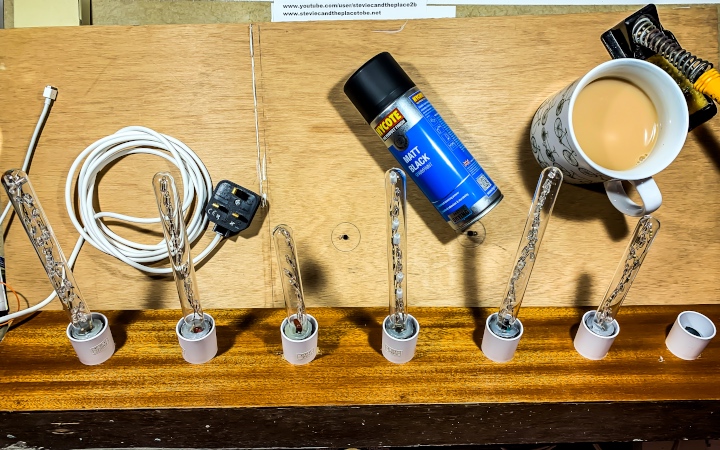
I’ve also constructed several test tube lamps/bulbs - some LED, some Neon, some Neon relaxation oscillators. The original projects were freeform wire-frame examples, but version 2.0 involved designing and manufacturing PCBs.


Monstrosity of Luminosity
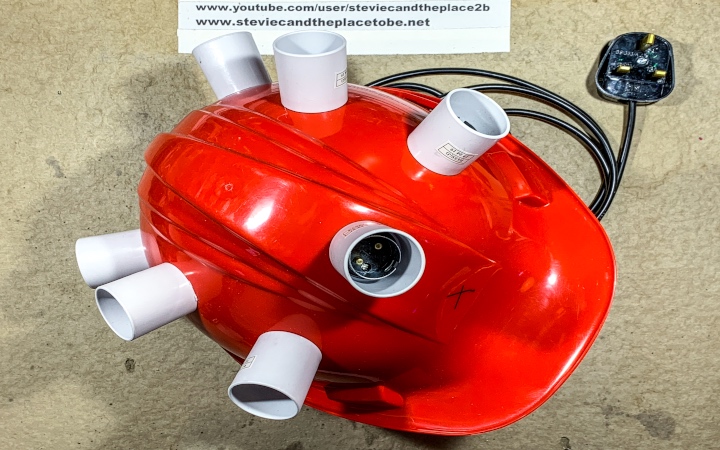
AKA The Hard Hat of Light & Death AKA The PPE of Questionable Safety. Ideal for showing off all my mains lightbulb creations.
Based on yet another BigClive project, this turns any boring old hard hat into a mega mains lamp holder of death (if you’re daft enough to stick your finger into it). Version 2.0 is this weird presentation plinth thingy made from an old door pelmet.

Big Clive’s original project page
My Hard Hat YouTube video
My Neon Tendril Bulb YouTube video
My LED Tendril Bulb YouTube video
Yet Another LED Tendril YouTube video
Neon Bell Jar / Frame
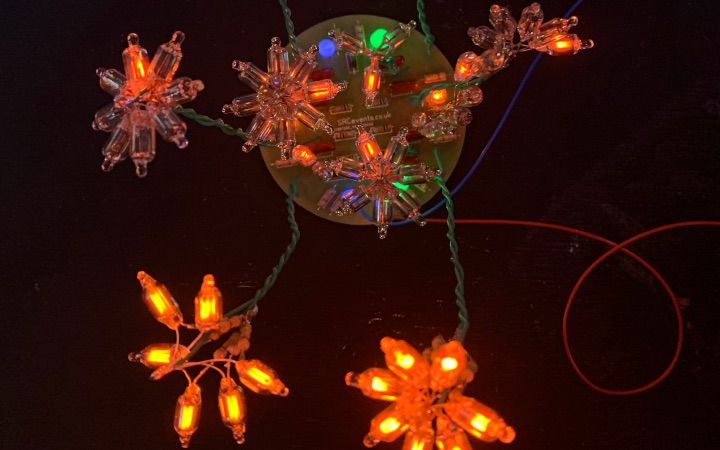
I do love neon stuff, and NE2 neon lamp-based projects are no exception. This was probably my first successful home-brew PCB involving dry-film photoresist, UV exposure, soda crystals, ferric chloride, PCB drilling, and all the mucking about with the various variables of each stage. I later had the design manufactured by JLC.
The production PCB for this project is available in both regular and MAHOOSIVE sizes. Designed for use with those Cloche Bell Jars available from eBoo. You can use neon “Nixie” flowers which are driven as a relaxation oscillator - something I’ve now also designed as a frame project.


Neon Frame YouTube video
Original Neon Bell Jar YouTube video
Updated Neon Bell Jar YouTube video
BCDC Gallium & ARSE
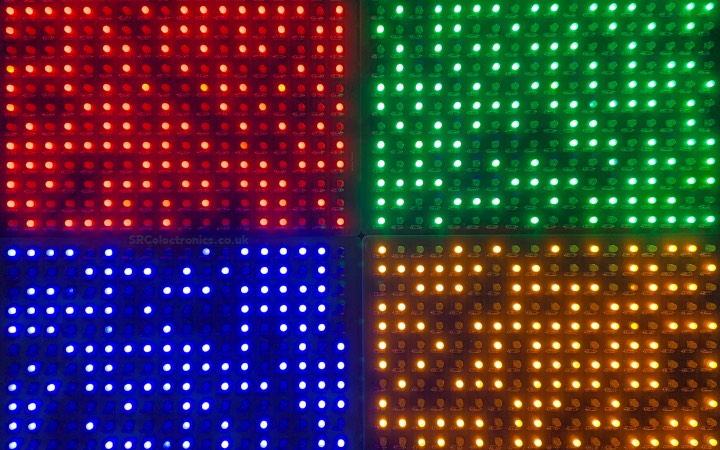
I’ve had a lot of fun building Big Clive’s Gallium PCBs (named after Gallium Arsenide); I was inspired to design my own called ARSE (same reason, different outcome). I made further revisions to mine, including ones with channels for VU meter compatibility, random RGB-ness with the TruSemi M34 flasher IC…

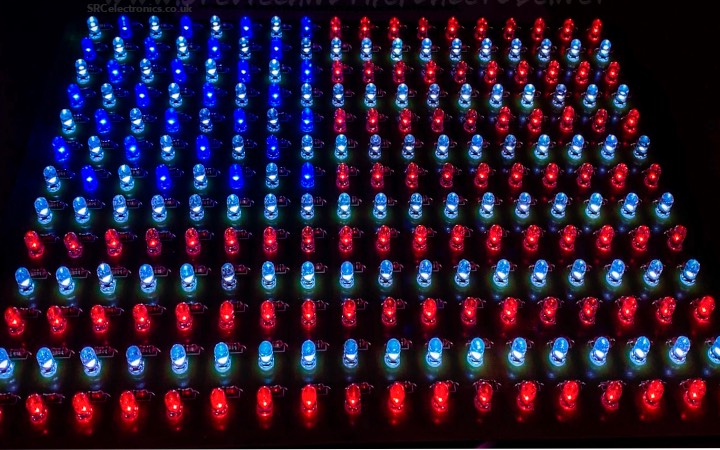
Demo: BCDC’s Gallium YouTube video
US Flag Shagger YouTube video


TruSemi M34/ARSE PCB YouTube video
Flash (AHH-AHHHH) Plugs
A classic special effect: a neon fluro starter in series with a tungsten lamp. I’ve built a few of these into trailing sockets for both theatre productions and halloween-themed events.

PAR56 Retrofit PCB
Designed to retrofit a tungsten Parcan lamp housing, allowing it to be used with LEDs thus saving it from landfill. Accepts standard 3/5/8/10mm LEDs and quarter-watt carbon film resistors. Can be controlled via a DMX decoder, LED tape driver or lit constantly from a DC 12V supply. Available in 5mm RGB 3/6ch and 10mm 3/4ch LED options.

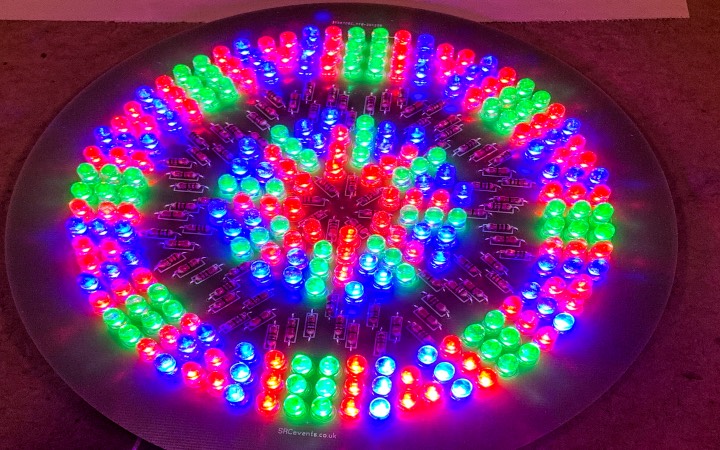
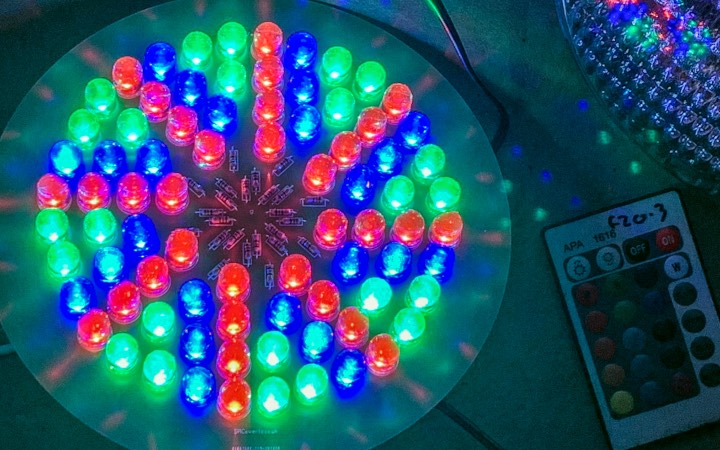
PAR56 LED PCB YouTube video
Another PAR56 LED YouTube video
PAR36 PCB
A smaller PCB designed to fit into PAR36 pinspots. I can’t find narrow-enough beam LEDs, but it still revives an old pinspot if you simply want a small area lit up. There’s a version for being fed direct from a traditional 6V transformer, as well as 12V ones for DMX and RGB control - or Big Clive’s RGB control kit.


LA07984 Retrofit PCB
Catchy name - rolls off the tongue. A retrofit PCB for the 1.5W 80 Lumen LED wall lights from CPC. There’s currently 2 versions: 12 LEDs with eighth-watt resistors; and 10 LEDs with a single quarter-watt resistor and a PICAXE micro for Knight Rider/Cylon Eye effects. Both run at 5V, or 12V with a regulator.
I’m working on versions for: SIL resistors and 240V mains power.

USB LED Tree & SnoDropz
The USB Tree was probably the first PCB I bought from Big Clive. I had a lot of fun building them - so much so that my first YouTube video was based around building one. I also had a go at making his freeform trees that were potted into resin in a tea light holder, although I use hot snot to allow future servicing.
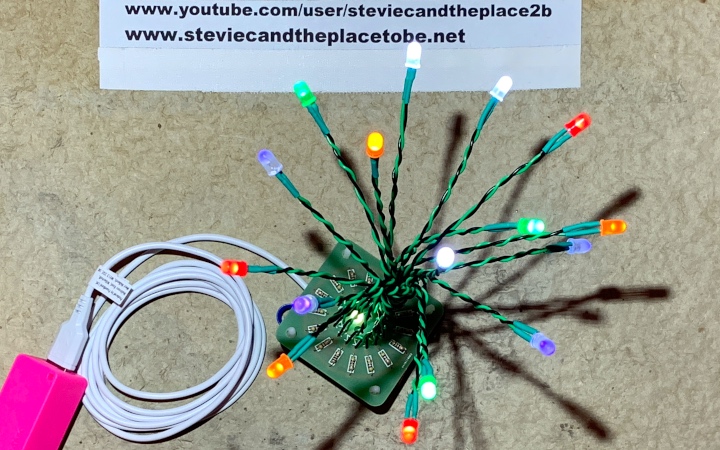


I then went on to build his SnowDropz PCBs, which I’ve built my own versions of. I’ve since modded my tea holder tree with Bonsai PCBs.


Cheap GOBOs
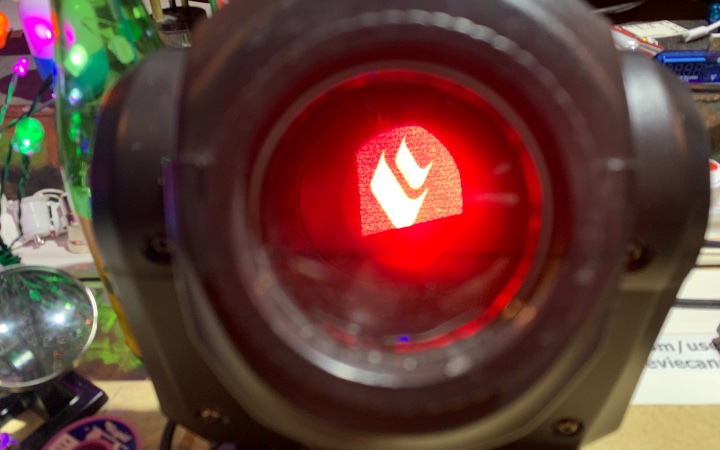
Cheap lighting GOBOs (for cheap lights). I had a go at creating these during lockdown; first by cutting out bits of card to shove in the open gobo position, and then by printing designs onto the silkscreen material I was using for PCB etching. Not recommended for high-power moving heads due to the intense heat generated. But an interesting project nevertheless.


This website does not use cookies.
Electronics design & repair and PAT Testing for events, theatre & small businesses. Serving Dundee, Angus, Glasgow, Twickenham, Woking & Weybridge.